NBI ONLINE APPLICATION AND REQUIREMENTS | A COMPREHENSIVE GUIDE
The National Bureau of Investigation (NBI) is a vital organization in the Philippines providing services such as the issuance of clearances for employment, travel, and other legal purposes. In recent years, the NBI has refined its procedures, allowing applicants to submit their applications online.
This blog will guide you through the entire NBI online application process, making it easier for you to obtain your NBI Clearance.
Why Choose Online Application
The NBI online application offers several benefits, including:
Requirements for NBI Clearance Online Application
Here are the requirements for applying for an NBI clearance online in the Philippines:
- Valid ID: You must present a government-issued ID. Acceptable IDs include:
- Passport
- Driver’s license
- Unified Multi-Purpose ID (UMID)
- Voter’s ID
- Postal ID
- Any other valid identification issued by the government.
- Recent Passport-size Photo: (usually 2×2 inches)
- Online Application Form
- Payment: (Payment for the clearance fee)
- Email Address: (for receiving updates regarding your application)
- Contact Number: (for communication purposes)
NBI Clearance Online Application Step-By-Step Guide
The National Bureau of Investigation makes the NBI clearance process easy by fulfilling NBI Clearance Online Requirements and submitting applications online. Here are a few steps to follow for the NBI application online:
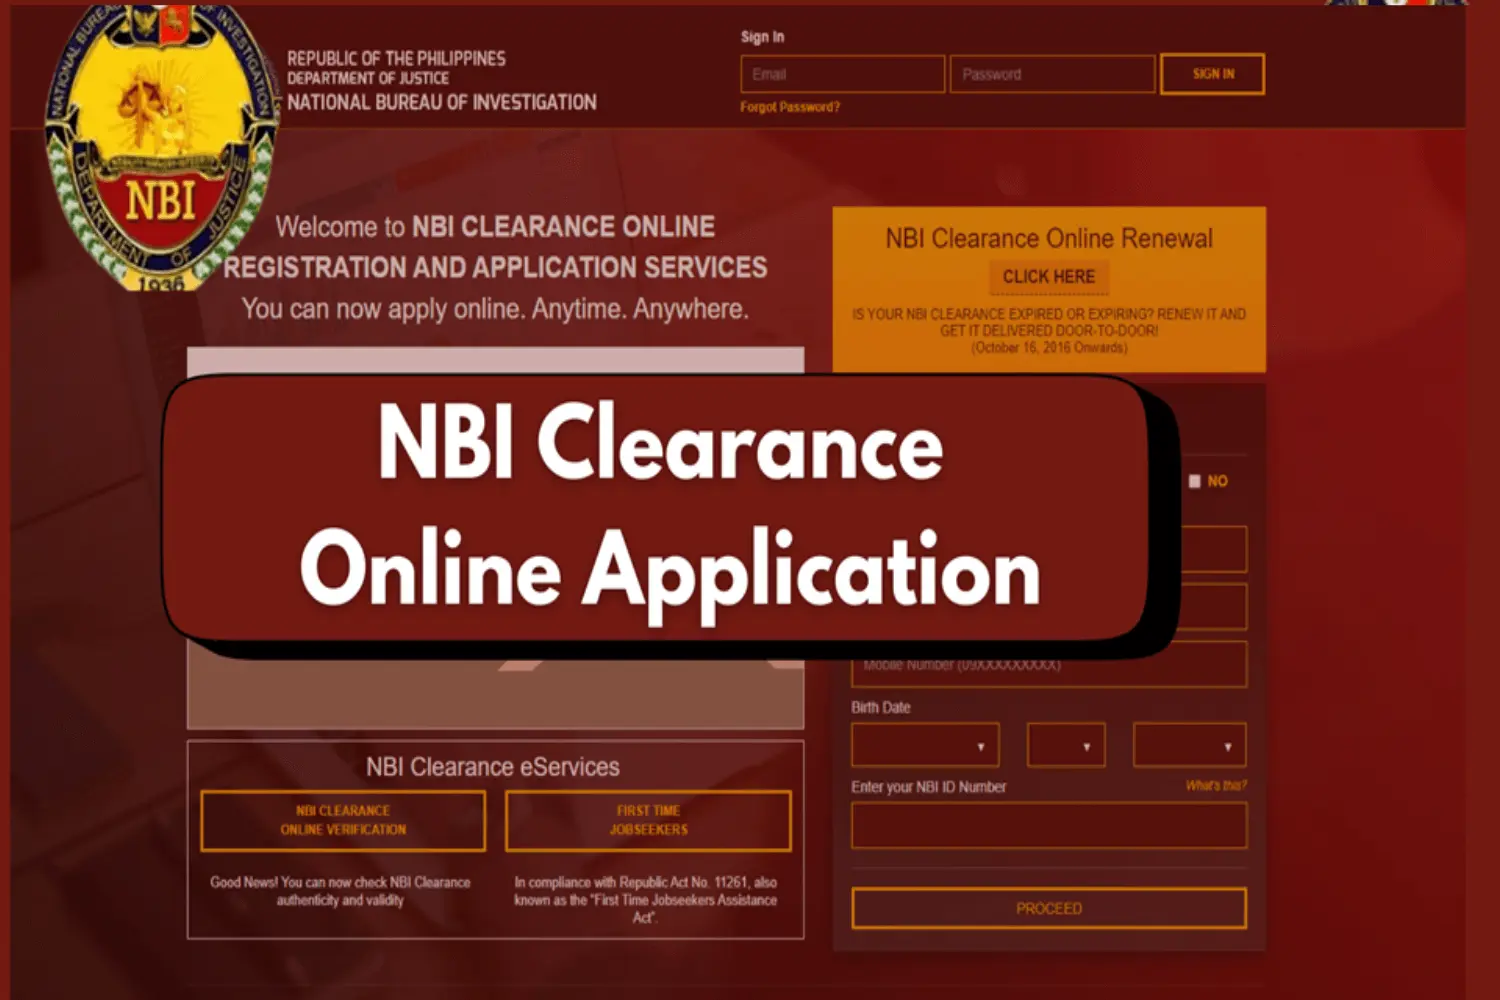
Step 1: Visit the Official NBI Website
Go to the NBI Clearance website. Make sure you are on the official website to prevent fraud and protect your personal information.

Step 2: Create an Account
- REGISTER: If you don’t have an account, click on the “Register” button. Fill out the registration form with your details, including your name, email address, and password.
- EMAIL VERIFICATION: After submitting the registration form, check your email for a verification link. Click the link to activate your account.

Step 3: Enter an OTP
- After registration, you’ll get an OTP (One-Time Password) in your email or through an SMS.
- If you can’t receive OTP on your mobile device, try the resend option and ensure the email or number you provide is correct.

Step 4: Log In to Your Account
Once your account is verified, log in using your registered email and password.

Step 5: Fill Out the Application Form
- CHOOSE THE PURPOSE: Select the purpose for which you need the NBI Clearance or renewal clearance.
- PROVIDE PERSONAL INFORMATION: Please complete all necessary details in the NBI online application form, such as your full name, date of birth, address, and other personal identifiers.
- UPLOAD REQUIRED DOCUMENTS: Depending on your purpose, you may need to upload additional documents (e.g., a valid ID).

Step 6: Schedule an Appointment
- Select a Branch: Choose the NBI branch where you want to process your application.
- Pick a Date and Time: Select an available date and time for your clearance appointment.

Step 7: Pay the Application Fee
After scheduling your appointment, you will be directed to the payment options for NBI Clearance Fee. The fees vary depending on the purpose of the clearance:
- Standard Clearance: Approximately PHP 130
- For Non-Residents: For the Non-residents or abroad NBI Clearance Applicants, the fee may differ.
You can pay through various methods, including:
- Online Banking
- Credit/Debit Cards
- Over-the-counter payments at approved banks and payment centers.

Step 8: Confirm Your Appointment
After payment, you will receive a confirmation of your appointment. Ensure you keep a copy for reference.
Step 9: Attend Your Appointment
- Bring Required Documents: On your scheduled date, visit the NBI branch with the following:
- Confirmation of your appointment (printed or digital)
- Valid ID
- Any other required documents
- Biometric Data Capture: Upon arrival, you will undergo biometric data capture, which includes taking your photo, fingerprints, and signatures.
Step 10: Wait for Your Clearance
After your appointment, the NBI will process your application. The processing time may vary, but you can usually expect to receive your clearance within a few days. You will be notified via email or text once your NBI Clearance is ready for pickup.
Step 11: Claim Your Clearance
Visit the NBI branch you selected to claim your renewed clearance. Ensure you have a valid ID and any necessary documents.
CONCLUSION
The online application method offered by the NBI is intended to make getting your clearance as easy as possible. You may easily receive your NBI clearance and avoid the hassle of long lines by following the guidelines provided in this blog.
In today’s fast-paced world, having your NBI clearance prepared is crucial, whether for work, travel, or legal reasons. To prevent any unnecessary delays, make sure you have all the relevant documents ready and set up your appointment promptly.